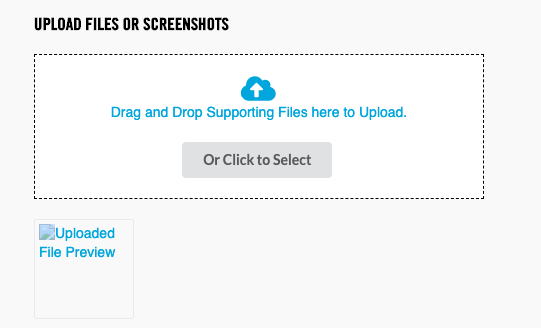
Intro:– How to Add a File Upload Form in WordPress Easily? How to Add a FA file upload option is extremely crucial in a good form because it lets your users, readers, and clients upload needed information. These are often concrete information that cannot be described in the text or numeric format. For example, a customer may be facing a glitch in his/her system due to a bug. With the WordPress file upload option, the user can send a screenshot of the problem to the team. Doing this saves your users from unnecessarily explaining things in detail.
The Upload Button is a toolbar item that allows users to upload files.
About:- A file upload option is extremely crucial in a good form because it lets your users, readers, and clients upload needed information. These are often concrete information that cannot be described in the text or numeric format.
To create directories in WordPress, we can use the WP function wp_mkdir_p(). This function may be used to create directories just about anywhere, but when using it to create subdirectories in the /uploads/directory, it’s helpful also to use wp_upload_dir() to get the necessary path information.
How to Add a File Upload Form in WordPress Easily? If you are reading this article that means you want to know how to add a file upload form in WordPress easily, right? But, you don’t have any idea how or where to start. If you are looking for an easy guide on how to add a file upload form in WordPress easily then you are at the right place. Just you have to read this article properly. In this article, I will show a step-by-step guide on how to add a file upload form in WordPress easily. Even if you are a beginner is no worry about it. The steps bottom are for both Beginners & Experts.
But before beginning to start an article, there are some major points that you should know, like(FAQs)
- How do I add an upload function to my website?
- How do I add an upload file in wooCommerce?
- How do I create an upload folder in WordPress?
- How do I make a button upload file?
- What is the upload button?
- What is the upload setting in WordPress?
Let's find It Out. ...
1. How do I add an upload function to my website?
HTML allows you to add the file upload functionality to your website by adding a file upload button to your webpage with the help of the <input> tag. The <input type=”file”> defines a file-select field and a “Browse” button for file uploads.
2. How do I add an upload file in wooCommerce?
Go to WooCommerce > Settings > Upload File to add rules to enable files for customers.
3. How do I create an upload folder in WordPress?
To create directories in WordPress, we can use the WP function wp_mkdir_p(). This function may be used to create directories just about anywhere, but when using it to create subdirectories in the /uploads/ directory, it’s helpful also to use wp_upload_dir() to get the necessary path information.
4. How do I make a button upload file?
File Upload
- <form action=”/action_page.php”>
- <input type=”file” id=”myFile” name=”filename”>
- <input type=”submit”>
- </form>
5. What is the upload button?
The file upload button is used to upload a user photo or any type of file in a form.
6. What is the upload setting in WordPress?
An Introduction to the WordPress Media Upload Settings
You can find this in the WordPress dashboard by navigating to Settings > Media: There are only a handful of settings on this screen, but they can have a significant impact on how media appears on your site.
Let's Talk About That. ...
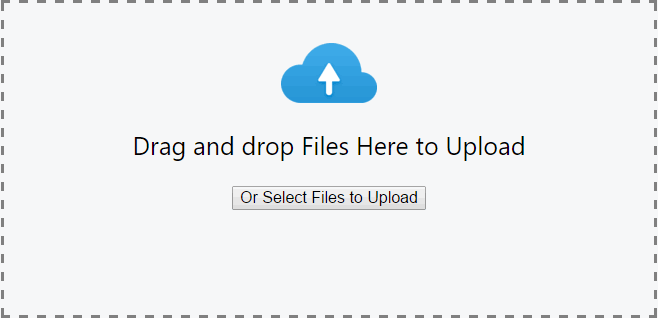
Adding a WordPress File Upload Form
The very first step is to install and activate weForms on your WordPress dashboard. This is how you install weForms. Once you have activated the plugin, start creating a new form by navigating to weForms > All Forms > Add Forms. Choose a blank canvas or a template. For demonstration purposes, I’m choosing the Support Form template of weForms.
weForms File Upload Field Options
From the menu, easily click on or drag and drop the file upload option on the form builder.
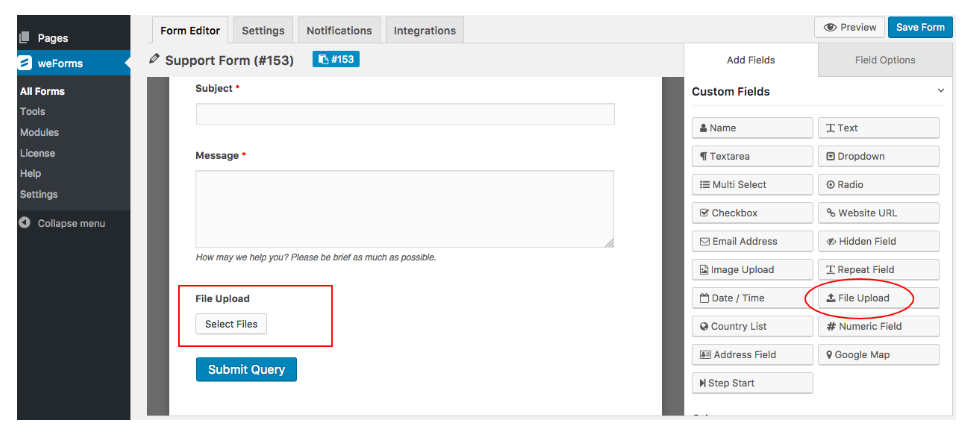
To rearrange, simply use the Cross to drag and drop the field where you would like it to be.
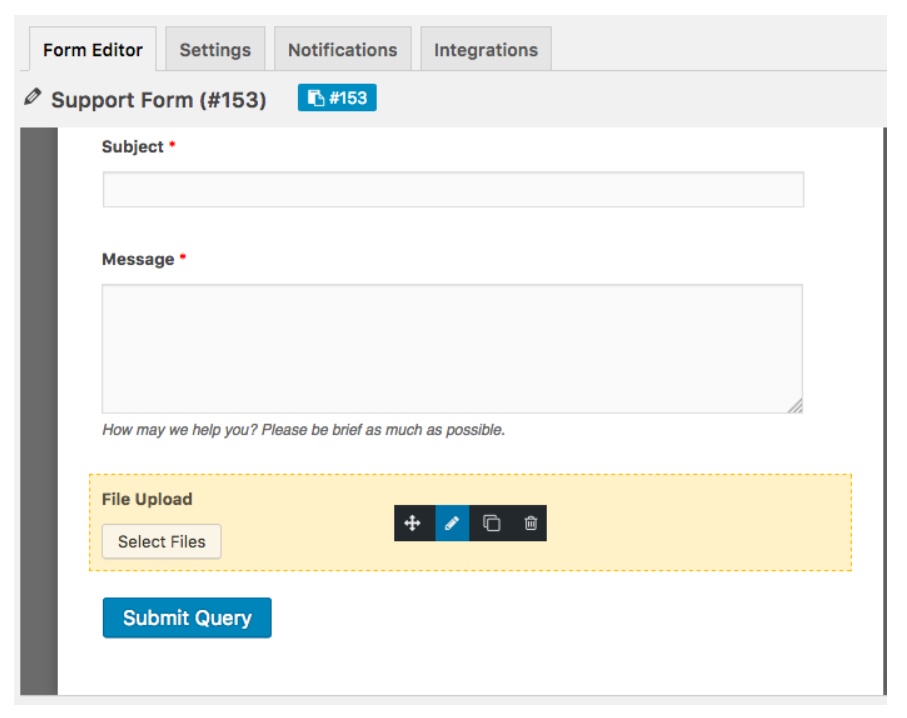
By clicking on the Edit button, you can view the Field Options for File Upload. The Field Options are really helpful. You change the Name of your field, Meta Key, and add a Help Text for your users from here. You can also specify if you require your users to upload a file in the form or not, by simply selecting Yes or No.
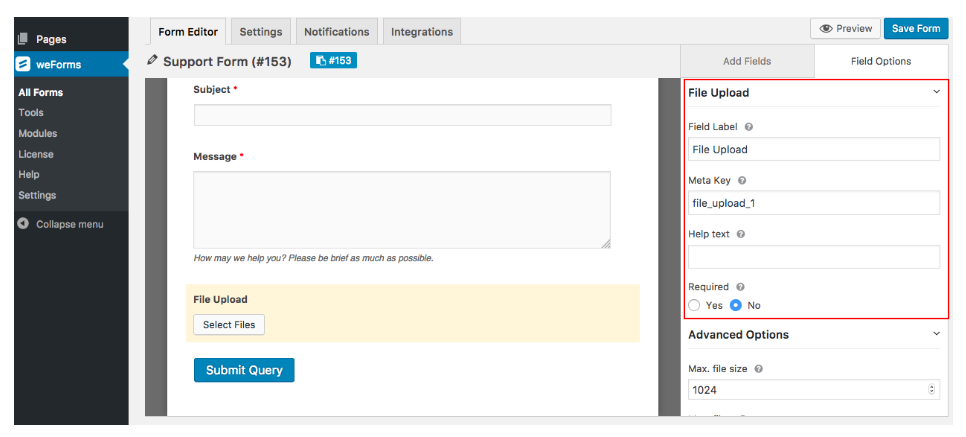
As you rename your Field Label, Help Text, and Required options, you will see your form builder changing and updating accordingly. That’s the weForms live Preview at work!
The Meta Key is automatically generated according to the field label you provide. And you can also customize it, just like all the other weForms functions and fields.
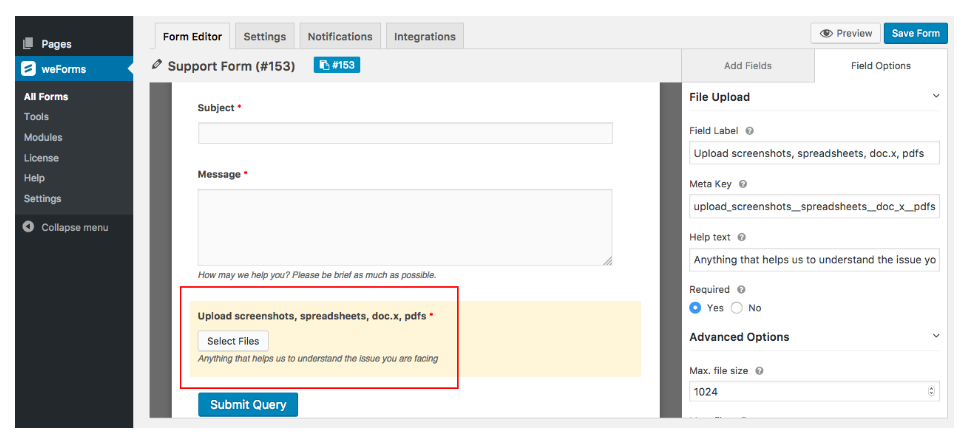
File Upload Advanced Functions
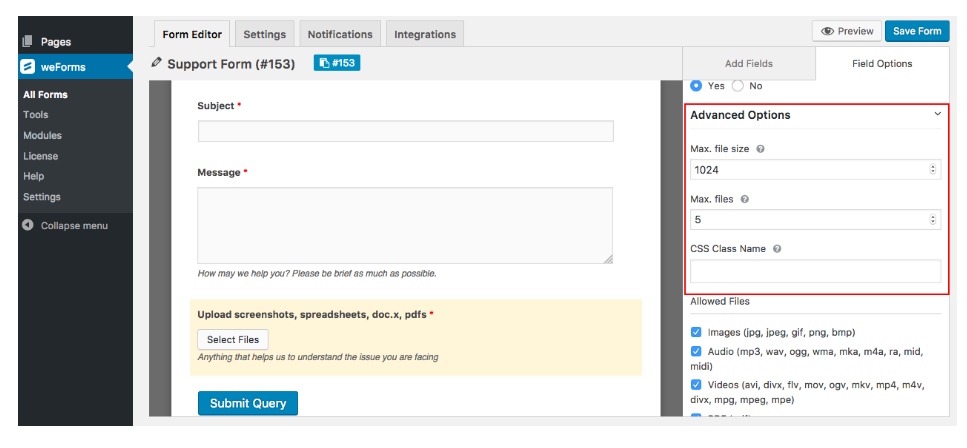
With weForms’ Advanced Functions you can choose the Max. file size you are ready to accept. The icing on the cake! You can even allow your users to select multiple files if they want to. Define this with Max. files feature. This gives more freedom to your users who are able to interact better with you. Also, you are able to collect more information from a single submission.
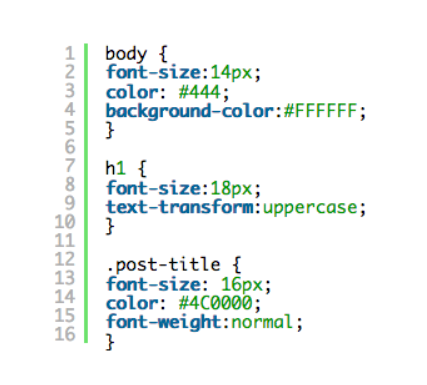
With the CSS Class Name feature, you can modify the default visual appearance and style of the file upload option by adding custom code. In other words, you are not restricted to using the inbuilt outlook of the weForms fields. If you know custom coding, you can easily alter the theme and design of your fields as you desire!
Here’s an example of a custom CSS.
You can also choose what kind of files you want to allow your users to submit with the Allowed Files option. weForms provides you with a huge number of inbuilt file formats. More than 50 to be a little precise!
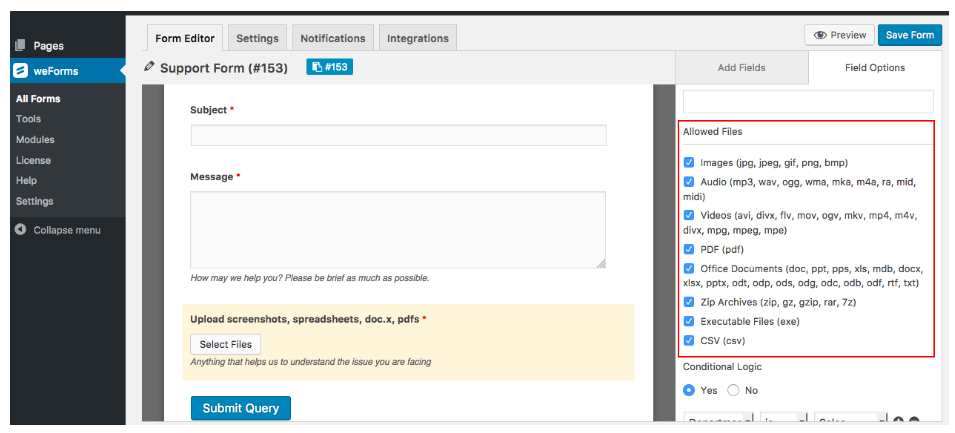
The Advanced Options also allow you to use Conditional Logic to define any criteria. For instance, if you want the file upload option to only be available for users seeking some support in certain Departments you can set the logic in that manner. And the same applies if you don’t want it to apply to a certain Department, then you can change the condition accordingly.
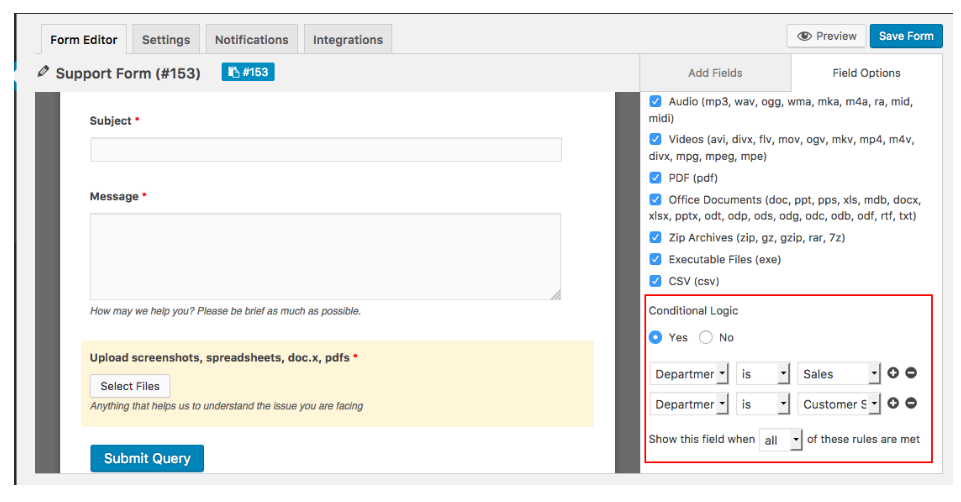
The dropdowns make it seamless for you to choose your categories and options.
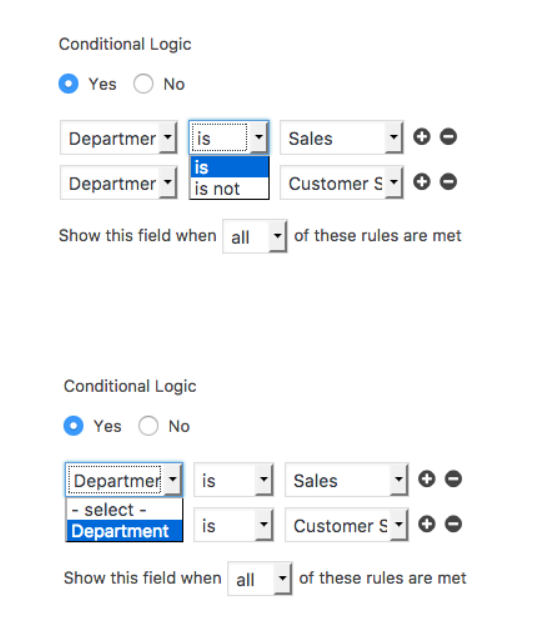
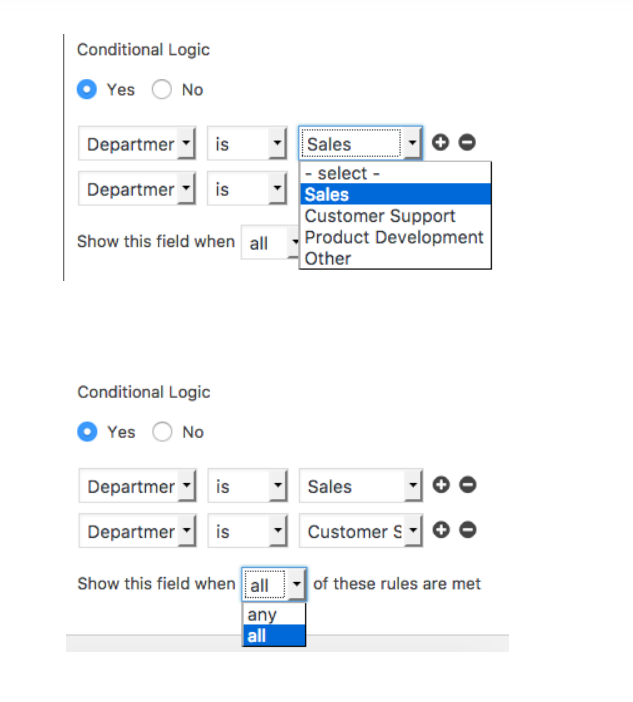
You can define as many categories as you like with the help of Radio Fields. It doesn’t have to be just Departments.
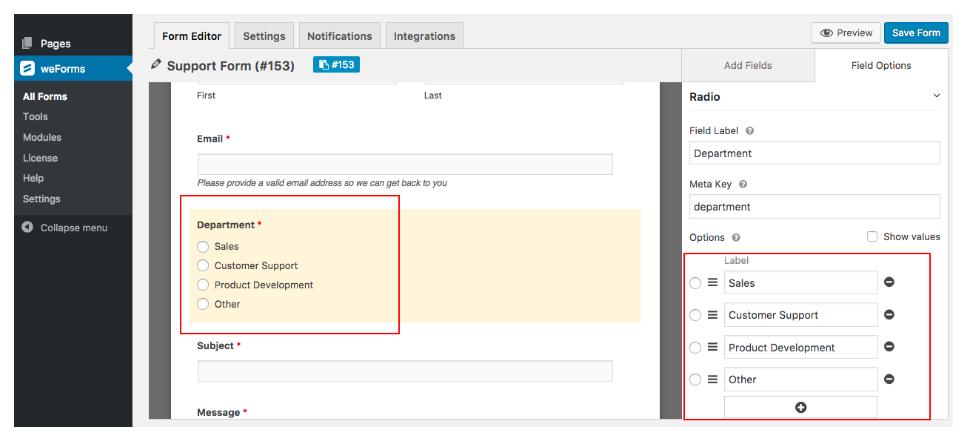
And that’s it! You are done creating a WordPress form with the file upload option. After you are done editing, just on Save Form in the top right corner. Create Download Button!
- If you liked the article leave a comment bottom in the message box. I will try to help you. And Thanks for reading the article!

Authored By The Er. Pramod Adhikari!
The Blogger, Author & CEO’s The Infinity Company! B. Tech in CSE ( Computer Science & Engineering) From Sambhram College, Bengaluru – 560097, Working Worldwide as Software (Web/App) Developer!
